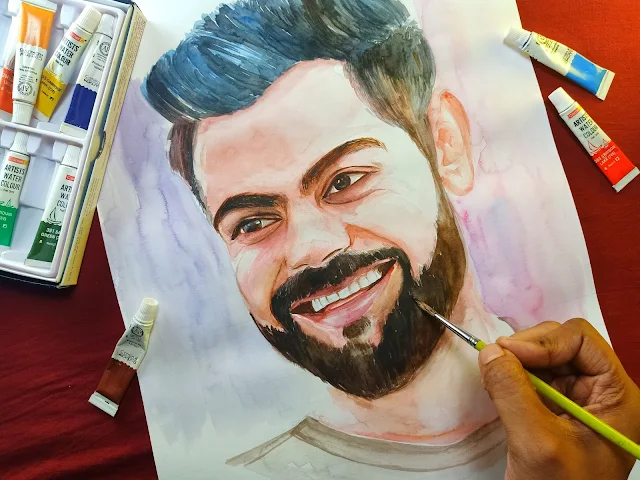
Drawing Virat Kohli requires careful observation and attention to detail. Here's a step-by-step guide on how to draw a portrait of Virat Kohli:

Materials you will need:
- Drawing paper or sketchbook
- Pencils (HB, 2B, 4B)
- Eraser
- Pencil sharpener
- Reference photo of Virat Kohli
Step 1: Gather reference materials
Find a clear and high-resolution reference photo of Virat Kohli. Make sure the photo shows his face from a suitable angle with good lighting.
Step 2: Outline the basic shape
Start by lightly sketching an oval shape on your paper to represent the head. This will be the foundation for the portrait. Add two lines intersecting in the middle of the oval to mark the position of the eyes and nose.
Step 3: Sketch the facial features
Using the reference photo as a guide, carefully draw the eyes, nose, and mouth within the guidelines you created in the previous step. Pay close attention to the proportions and placement of each feature. Use light, gentle strokes with an HB pencil.
Step 4: Add details to the face
Now, observe the reference photo and add more details to the face. Sketch the eyebrows, eyelashes, and any facial hair. Study the shape of Virat Kohli's face and add subtle shading to indicate the contours and shadows. Use a 2B or 4B pencil for darker areas.
Step 5: Draw the hair
Continue to observe the reference photo and sketch the hair. Take note of the hairstyle, its volume, and any distinctive features. Use a combination of light and dark strokes to create texture and depth.
Step 6: Refine the features and shading
Go back to each feature and refine the details. Pay close attention to the eyes, capturing the shape of the iris, highlights, and reflections. Add shading and depth to the nose and lips, carefully observing the reference photo for guidance.
Step 7: Focus on the expression
Virat Kohli is known for his intense and focused expressions on the cricket field. Capture his expression by paying attention to the shape and position of the eyebrows, as well as the wrinkles and creases on the forehead. These details will bring life to the portrait.
Step 8: Final touches
Once you are satisfied with the overall likeness and details, go over the drawing, adding any additional shading, highlights, or texture as needed. Take your time to refine and perfect the portrait.
Step 9: Erase guidelines
Carefully erase any remaining guidelines or unwanted marks. Use a clean eraser and be gentle to avoid smudging or damaging the drawing.
Step 10: Sign your artwork
Once you are finished, sign your drawing with your name or initials to complete the artwork.
Remember, drawing portraits requires practice and patience. Don't be discouraged if your first attempt doesn't turn out as expected. Keep practicing, and over time, you'll improve your skills and capture the likeness of Virat Kohli or any other subject more accurately.

0 commenti:
Post a Comment